Get your Free 3CX API
Step 1:
Visit https://www.mrvoip.com/call-center-customization/3cx-api/
Step 2:
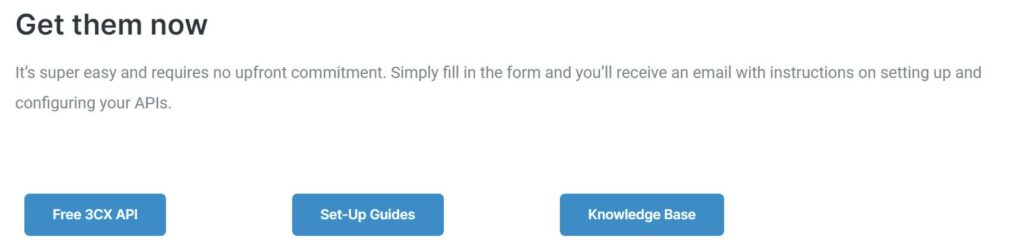
Click on the “Free 3CX API” button.
Step 3:
Fill in the form and click submit.
Step 4:
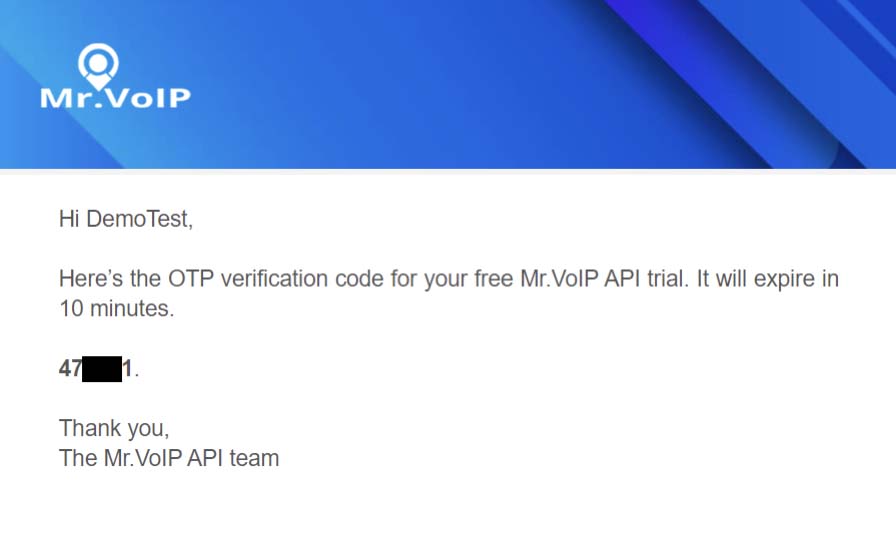
An OTP will be sent to the email address provided.
Step 5:
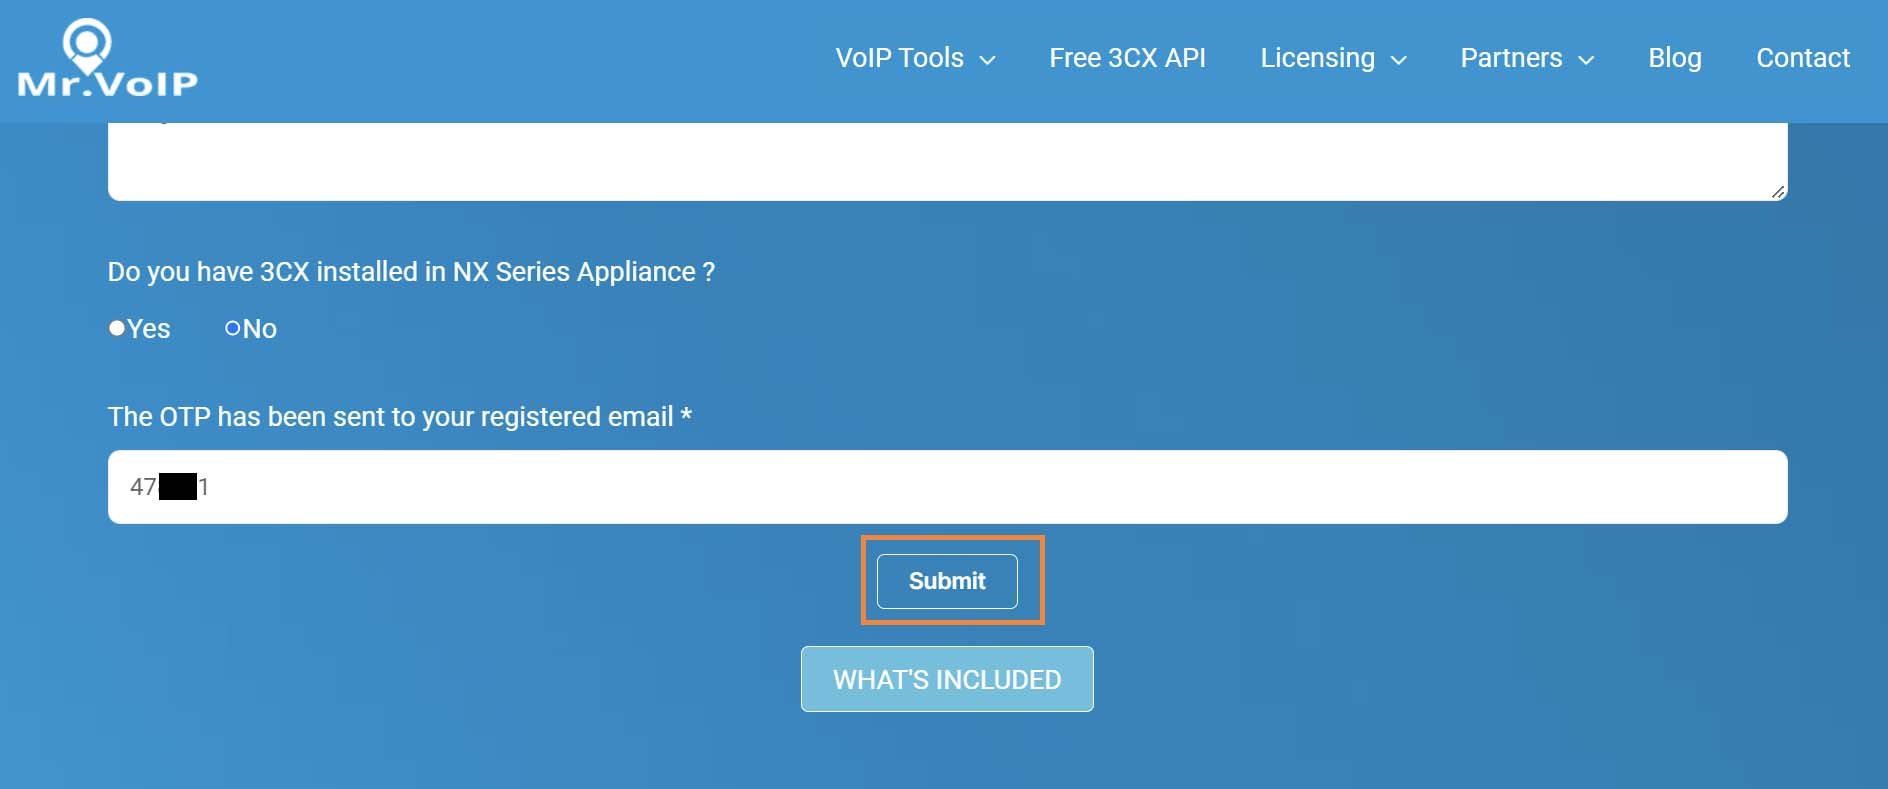
Enter the OTP in the registration form and click submit again.
Step 6:
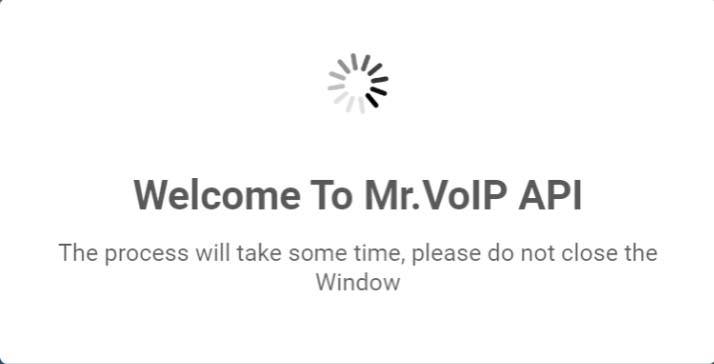
A message prompt will display in the screen, notifying you that your account is being created.
Step 7:
Once the account creation is done it will show the success message.
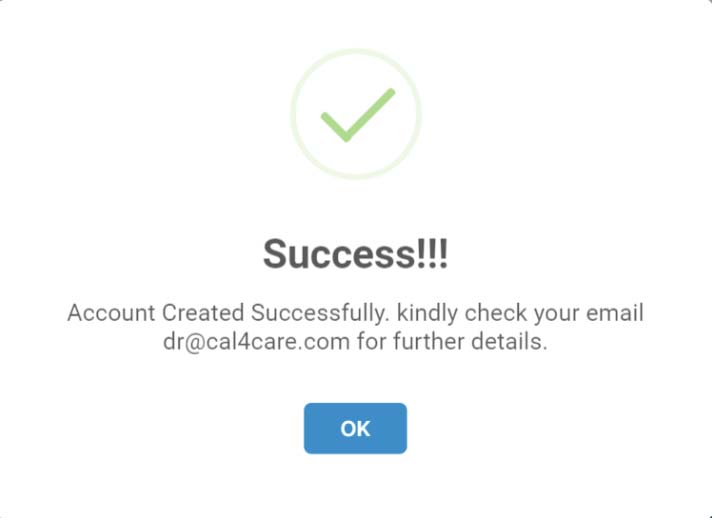
Step 8:
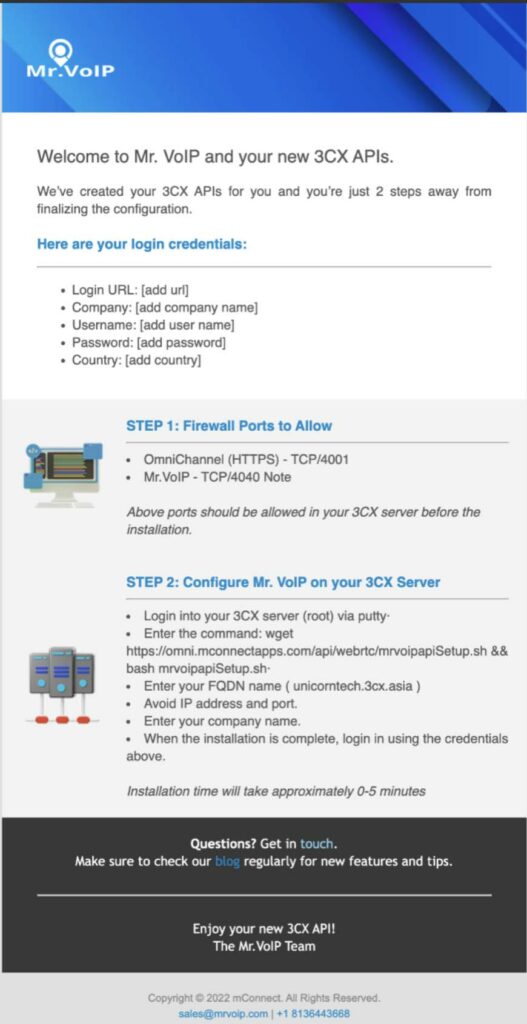
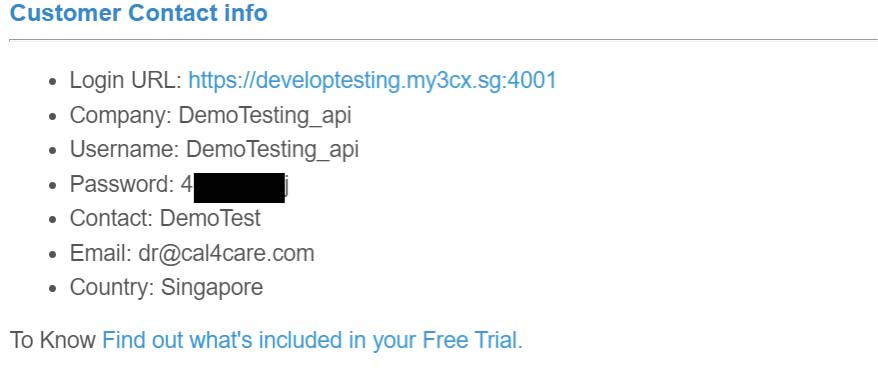
Check your inbox for your welcome email which contains some simple steps to finalize your configuration.
Configuring Mr. VoIP on your 3CX Server
Step 1:
Open the welcome email and follow the process step by step.
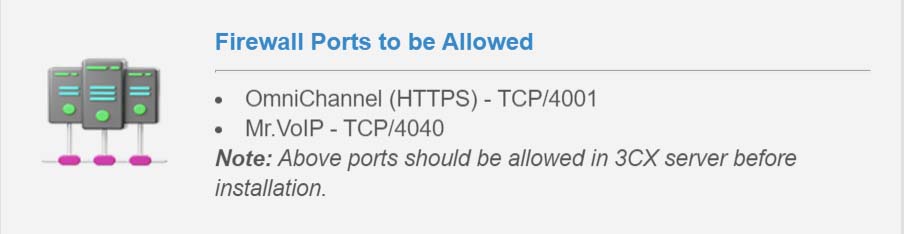
Step 2:
Make sure the below port numbers are allowed in the firewall.
Step 3:
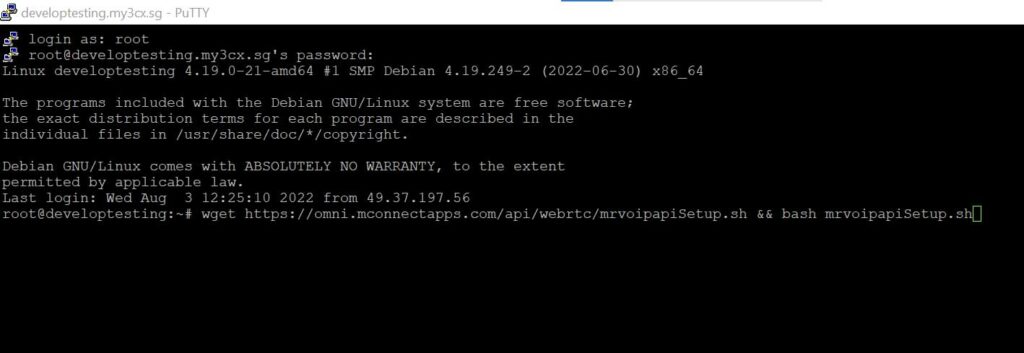
Open putty and login to your 3CX server with root credentials.
Step 4:
Now copy and paste the installation command in the putty and press enter.
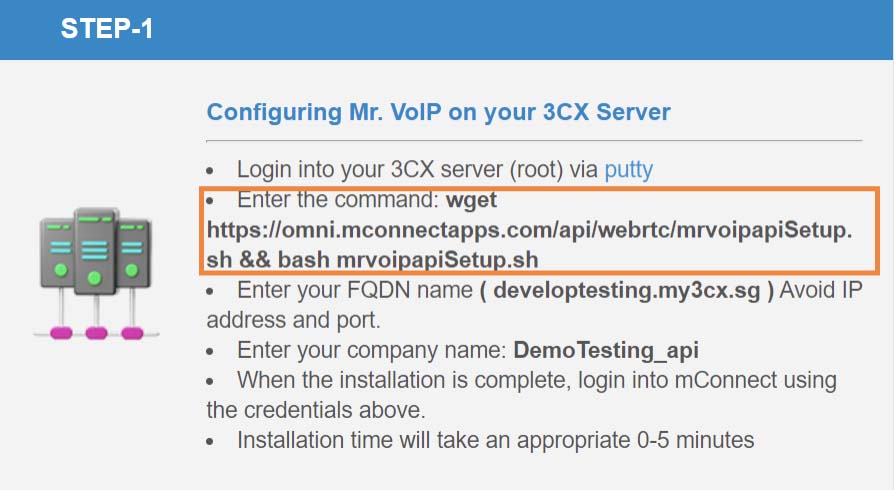
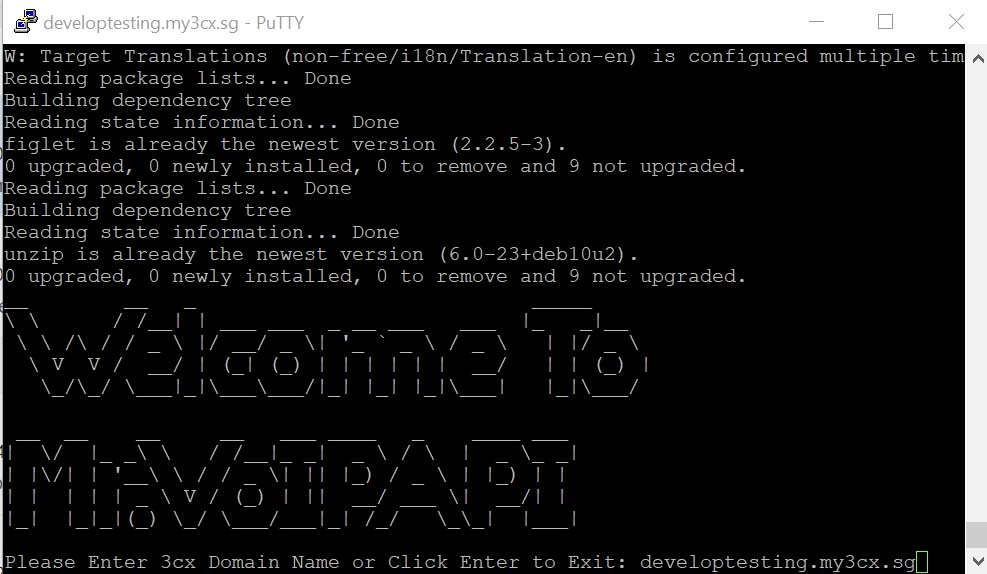
Step 5:
Enter the FQDN name which you registered and press enter.
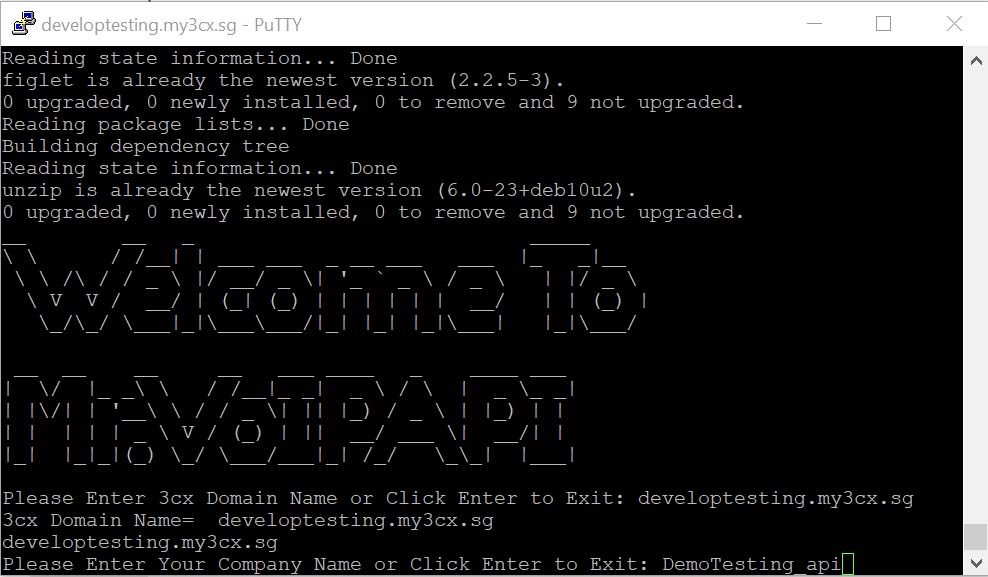
Step 6:
Now copy paste the company name as it was sent in the welcome email and press enter.
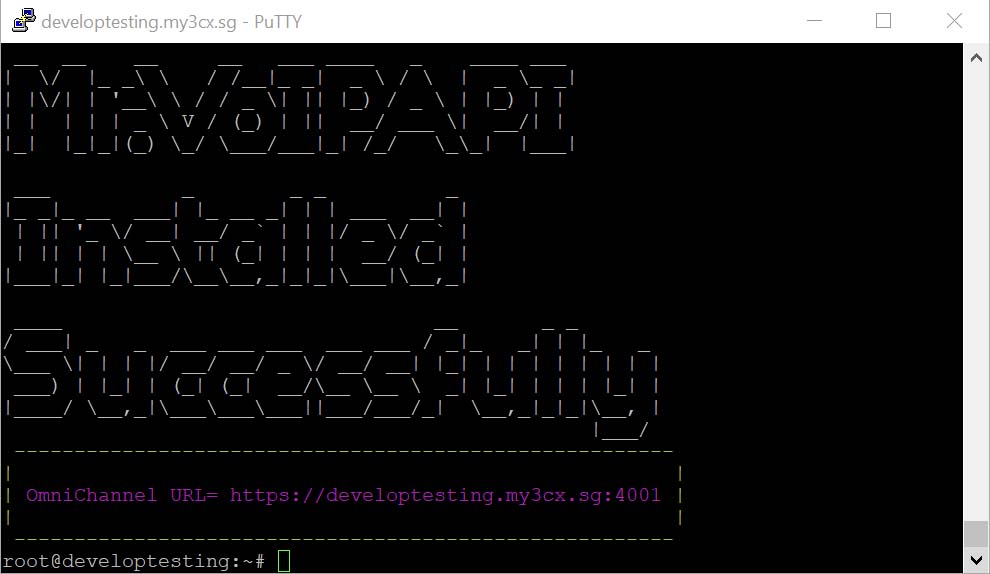
Step 7:
Upon successful installation the success message is shown.
Logging in
Step 1:
Login Omni channel using the credentials in the welcome email.
Step 2:
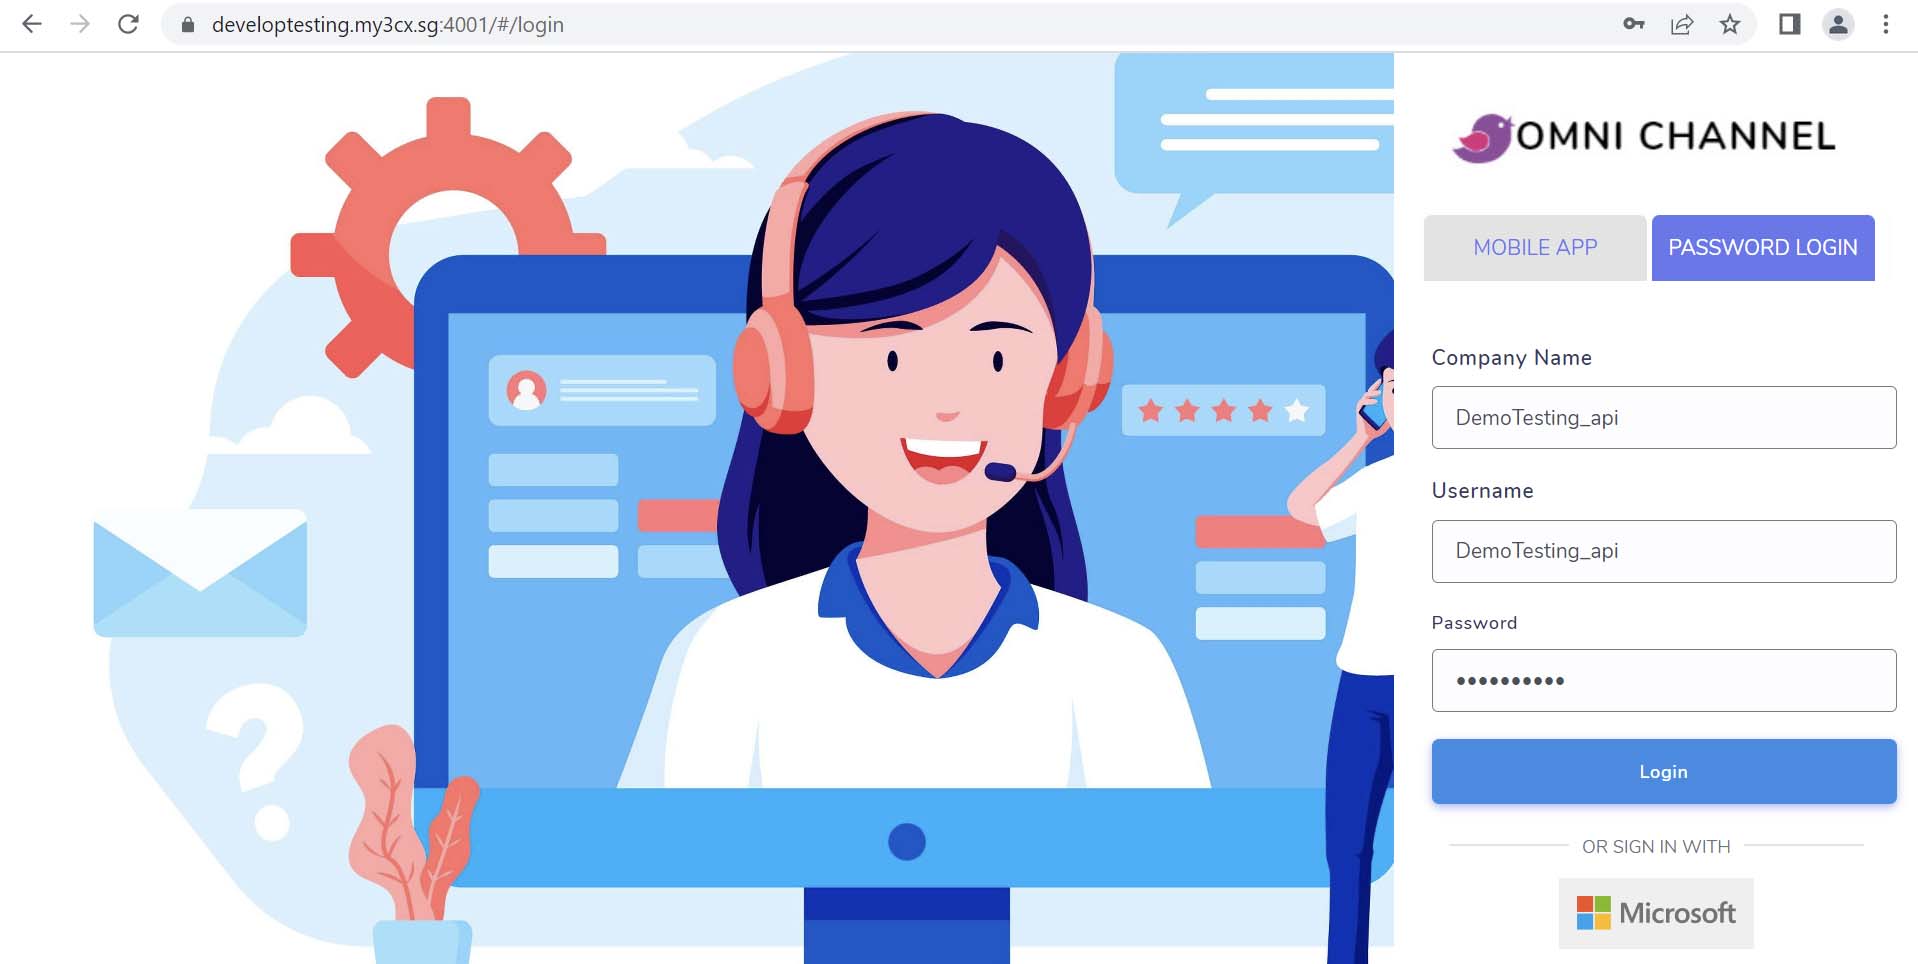
Copy paste the Login URL in the browser and enter the company name, user name and password to login the Omni channel.
Step 3:
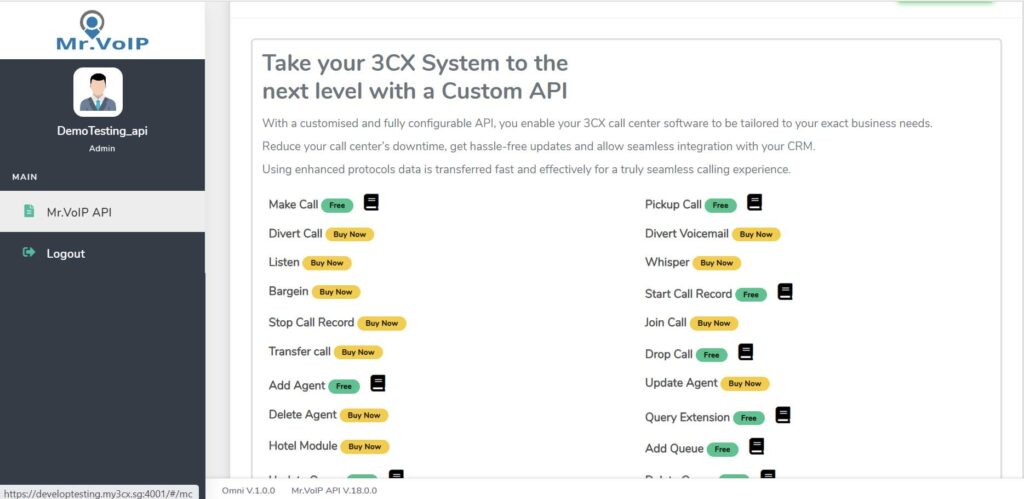
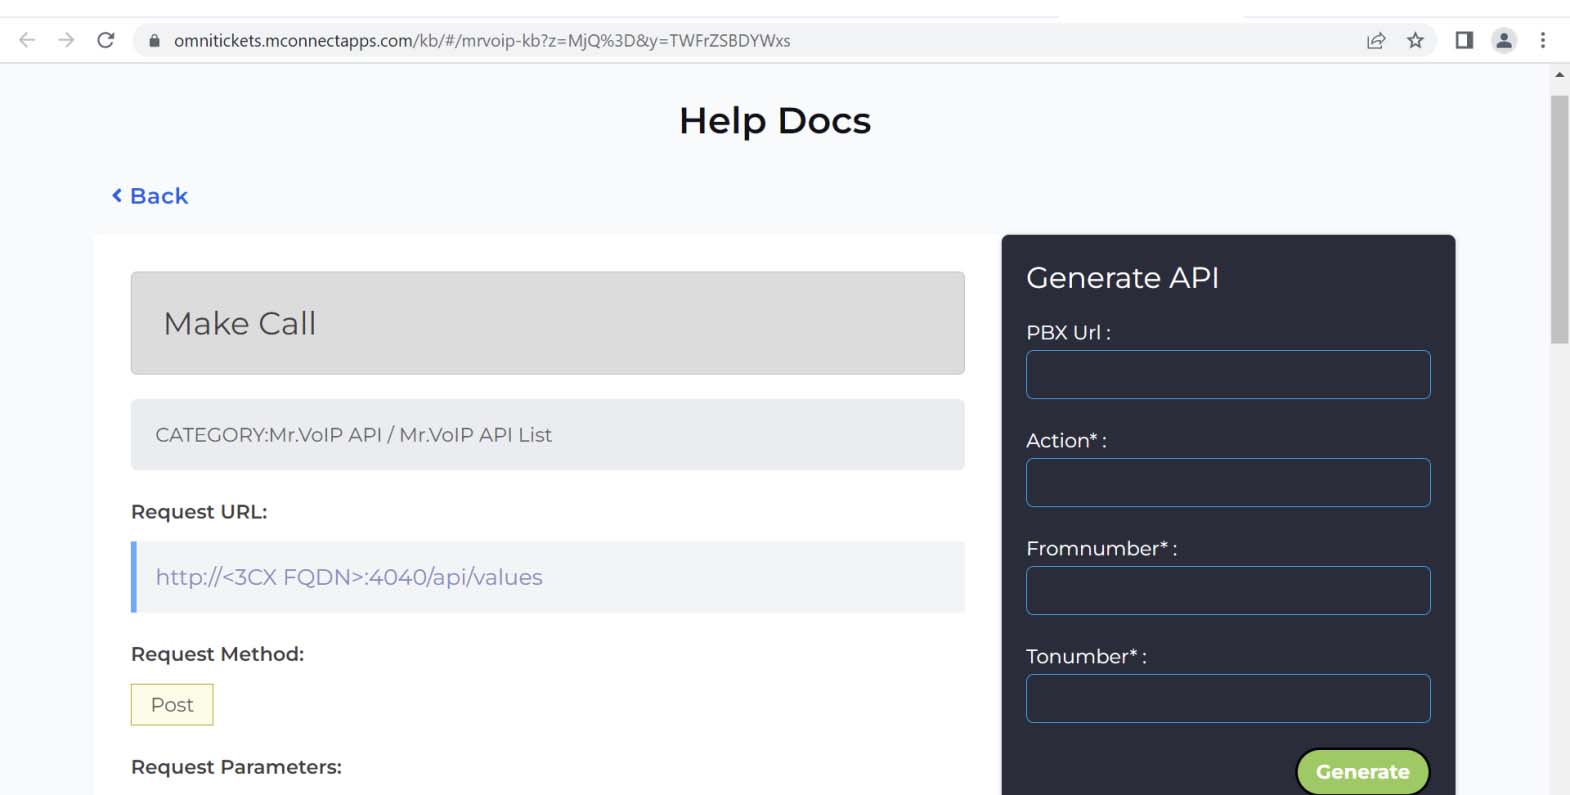
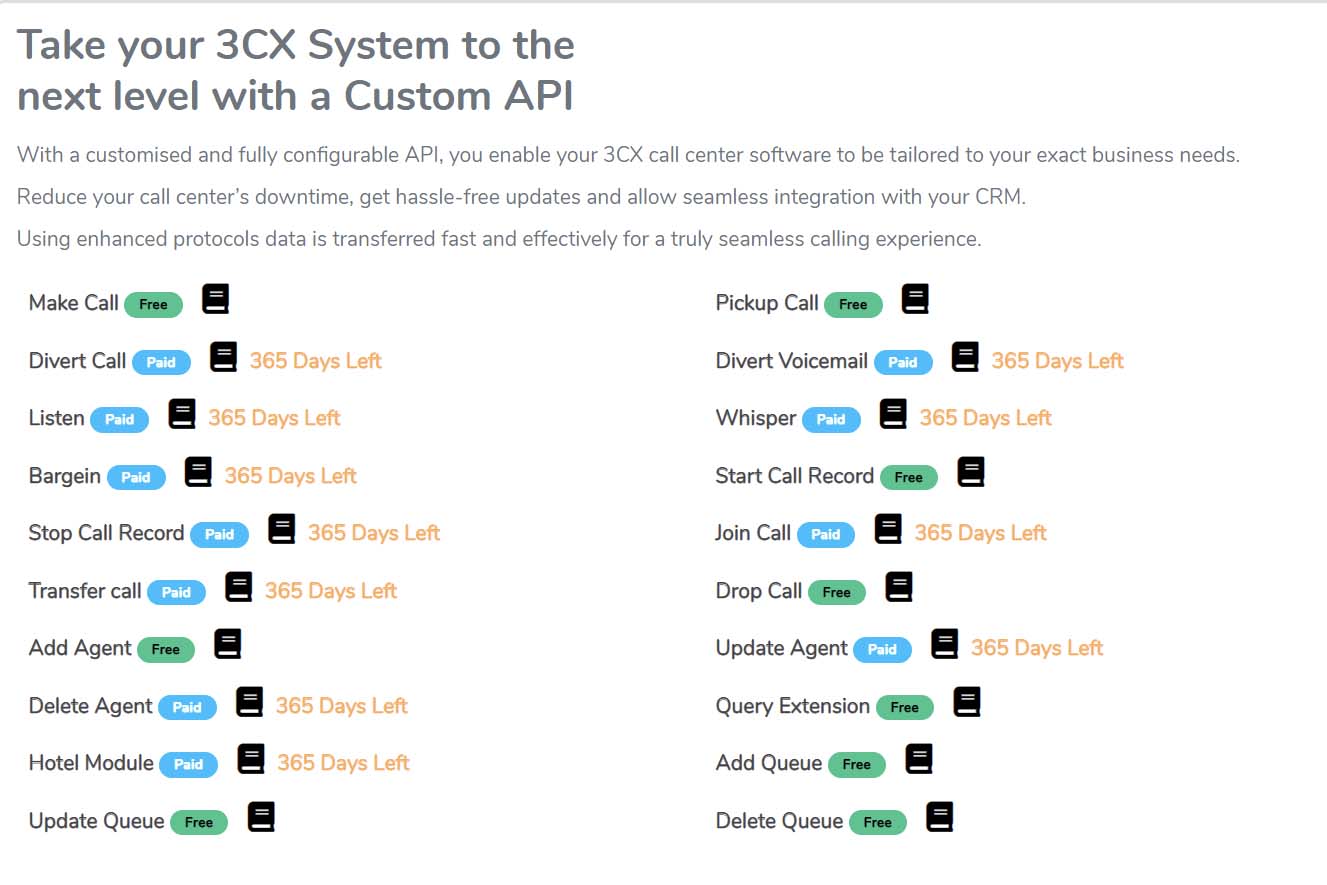
Once logged in click Mr.VoIP API in the left side menu. There you can see the free and paid API list.
Step 4:
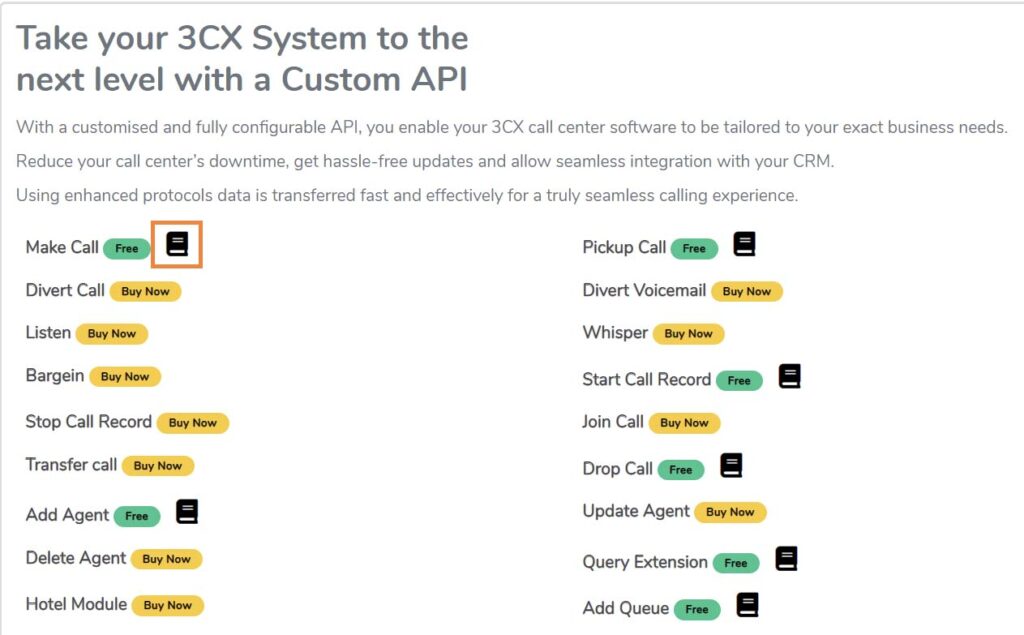
In every free API list there will be an icon which will redirect us to a knowledge base which contains the API functionality calling procedures.
Step 5:
In the knowledge base you can find the Request URL, Request Method, Request Parameters and Possible Errors.
Step 6:
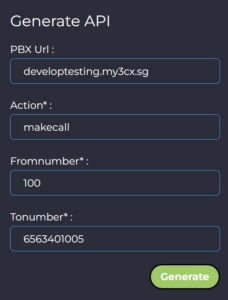
In the right side of the knowledge base there will be a Generate API which helps you to generate the API request to your preferred language. For that you need to give the FQDN, action and request parameters and click generate.
Step 7:
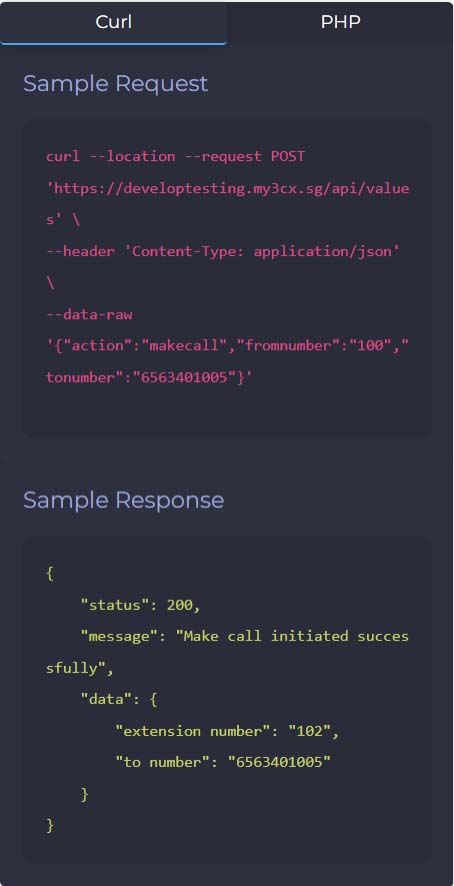
After clicking the generate button the API request will be convert to preferred languages. It will also show the sample response how the actual response will be.
Step 8:
Once you buy the paid API it will show the API calling procedure and the expiry date.
 ogging